
Project #1: Kitchen
OK so enough about trees and shrubs and on to more important things - like this kitchen!
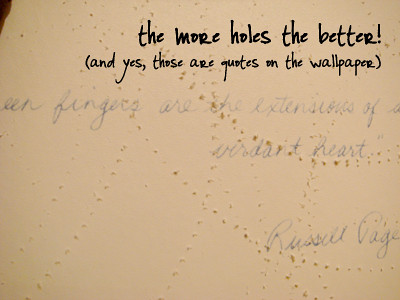
So here's my project #1 - removing this lovely {to some} wallpaper combo I inherited from the previous owners. As you can see, I have two different patterns... so how to remove wallpaper without ripping your hair out:
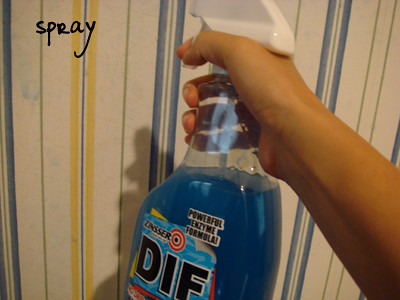
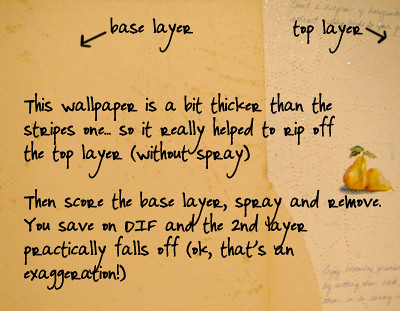
So the first step is to remove as much of the wallpaper as you can without spraying it with anything. Most wallpapers if not all have 2 layers - so if you can manage to remove the first layer just by ripping it off with your fingers then you'll save yourself a lot of time/aggravation. It may seem like double work, but I found it much better to do it this way - you also end up using less of the solution.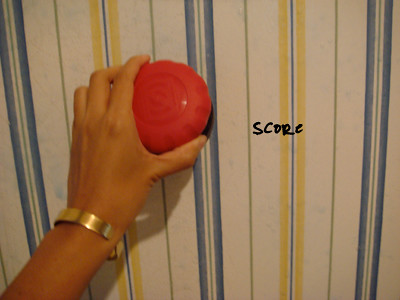
It took me about a day to complete this project. The hardest parts were the ones above the cabinets and behind the fridge and stove.
I'm going to paint the kitchen a fresh pineapple color, ceiling will be painted Patriotic White (Benjamin Moore) - it has a very light light light blue undertone and the trims will be painted Ivory White (Benjamin Moore).
The cabinets will also get a nice coat of white paint! I'm still looking for the perfect shade :)


![]()


1 comment:
That is awesome...if u can do all that by yourself....that's a sure A+. Wow, I can't wait to see it!! Take time to relax and i know you will!!!
Post a Comment