
DIY Home Improvement
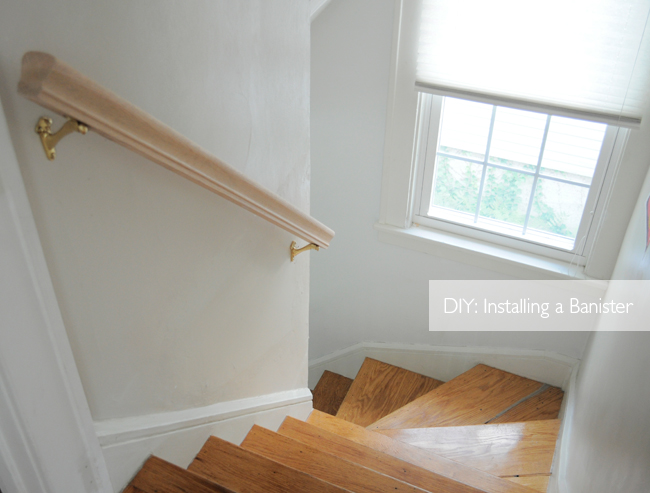
Here's our new banister!
I think the awkward turn threw my mom off a bit, so hopefully this should help a little.
We just went to Home Depot, picked out a banister style/color and they cut it to size. We also bought two sets of banister brackets and the cheapest drill and bit set they had. The whole project probably took us a little less than three hours.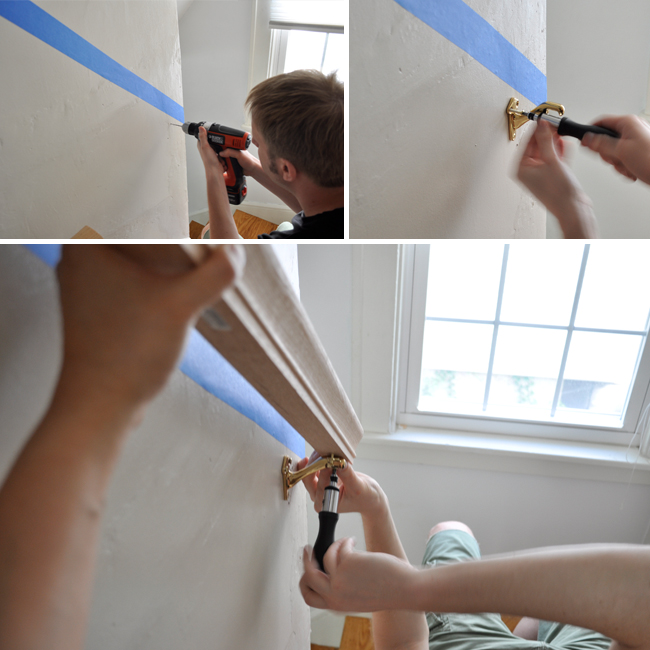
First step was to measure the length so we'd know how long to cut the wood. Then I measured about 35" up from the 2nd and 2nd to last step and marked it with a pencil. You can adjust the height accordingly. Then took painters tape and followed the angle down to create a guide for us. Drilled holes (we had to do this several times coz we didn't have a stud finder and kept hitting bad spots), attached brackets, attached banister to brackets, sanded it down and voila!
Not bad for less-than-two-years home owners ay? Now let's just hope it stays attached to the wall :)
![]()

5 comments:
Looks great guys! Now if you could just come over and install safety rails all over my home. You know I'm just like a walking disaster. xo
If you two aren't the cutest freaking expectant parents ever, I don't know who is. Srsly. Adorbs. Totes.
;)
Hi - Just found your blog and am enjoying your craft and home ideas! Great photos - can I ask a couple newbie questions? What kind of camera do you use and what kind of program do you use to edit text on top of the photos? Thanks! I love the look of your site! -Amy
:) Cassie. Ez, I could just imagine!
Hi Amy, thanks! I use a Nikon 5000 and use iPhoto and Photoshop to manage and create my final photos/layout.
wow!!! that's all i can say for now :) oh and what kind of reward did you give the handyman?
Post a Comment